How To Tighten A Treadmill Belt
Brian is a regular competitor and national qualifier in the National Physique Committee events of bodybuilding and classic physique. A veteran writer and editor of more than 24 years, he's published numerous articles on fitness, health, and exercise.
Read full bio >Just like any other machine with a belt, treadmills require adjustment from time to time. The process isn’t particularly difficult, particularly if you’ve ever assembled a treadmill. In any case, it’s a trick worth learning. Along with the alignment of a belt, loosening and tightening it is just a part of treadmill ownership. The deck and belt of a treadmill are two of the most important components next to the motor, and regular maintenance is necessary to keep them running.
Consider that the term belt tension refers to how snug the belt runs along the deck, whereas belt alignment refers to whether or not it’s centered. These are obviously related. As a rule, you should be able to gently tug the belt about three inches up off the deck. Why do treadmill belts become loose? Constant pressure and tension. Research shows that the pounding pressure of feet on a treadmill – or ground reactionary force (GRF) – is about two to three times the runner’s weight. This means a 150-pound runner could produce between 300 and 450 pounds of GRF per step, with a 200-pounder generating 400 to 600 pounds. Jog after jog that will wear on the belt. The topside of the belt is made of rubber, while the underside is cotton or polyester. The belt stretches across and under the deck, attaching at both ends to rollers, which are steel cylinders that pull it by way of the motor. It’s not hard to imagine how this belt will begin to wear over time, stretch, and even come loose.
The good news is you don’t just have to live with this. Tightening the belt is easy. You’ll also want to learn how to tighten and loosen the belt for those times when cleaning or lubricating it become necessary. Read below to see our steps in how to do this, ever bearing in mind the process may vary slightly by model.
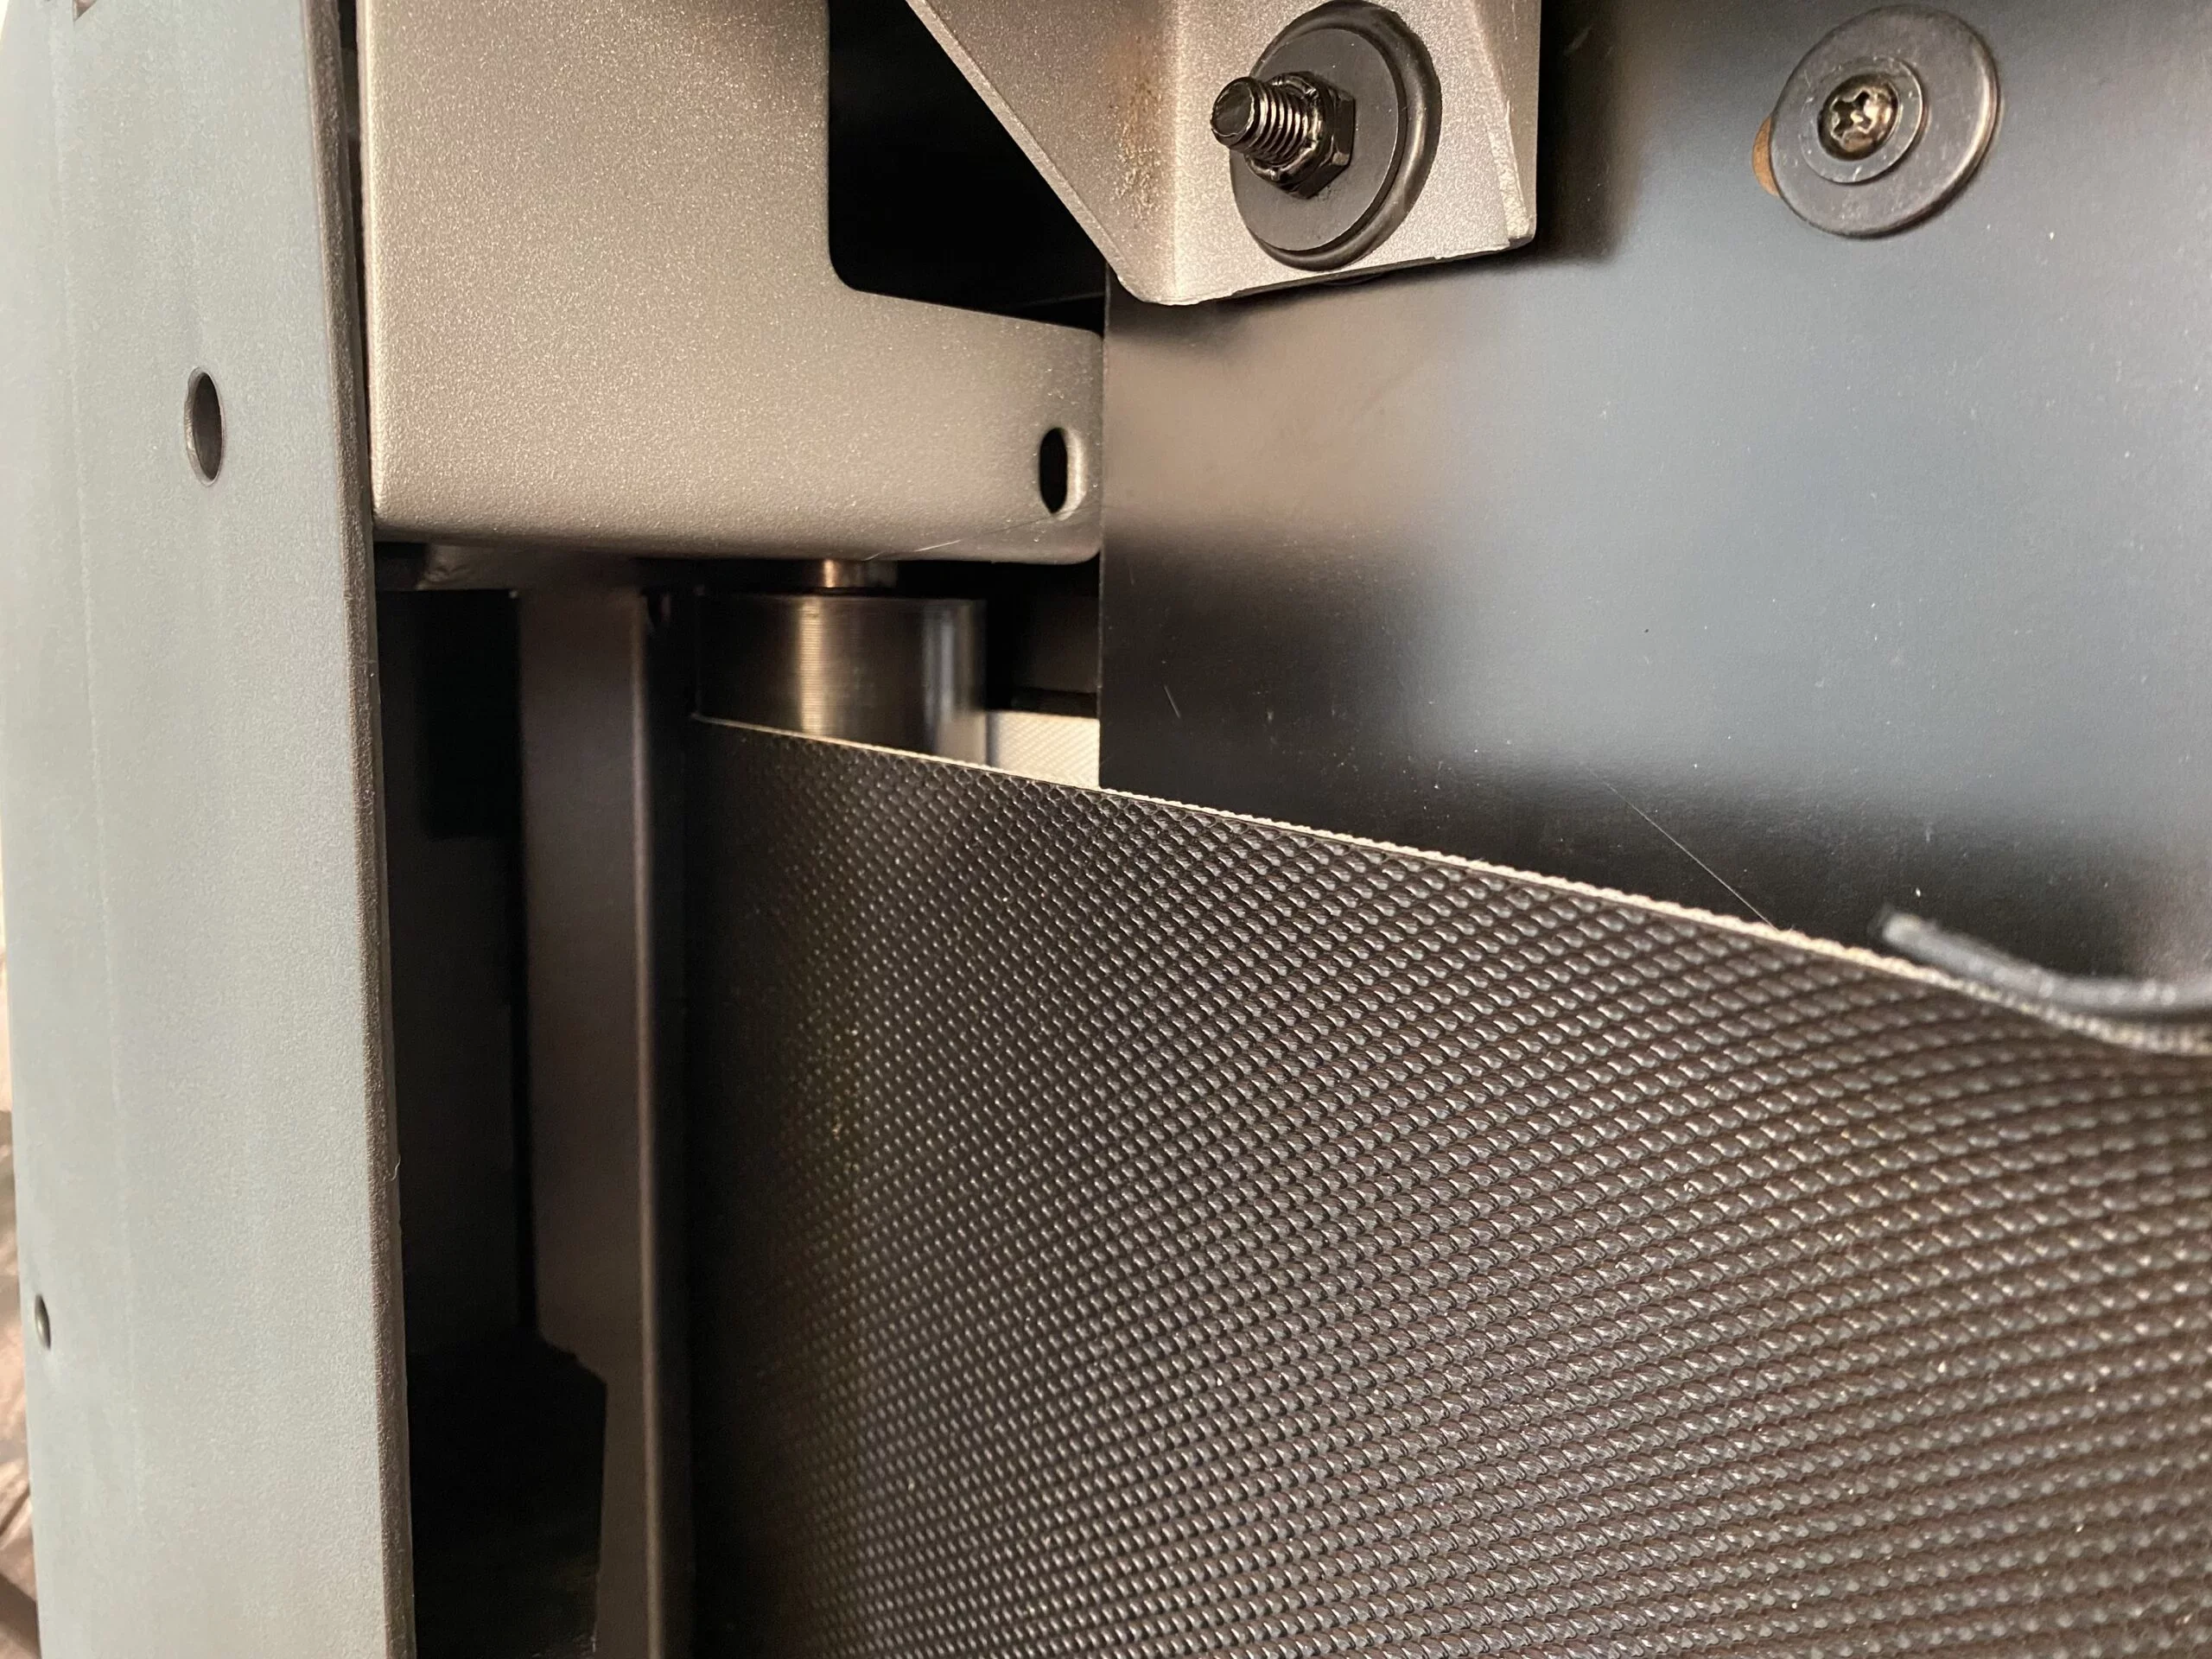
A treadmill belt is pulled along the deck by way of steel rollers at either end.
Treadmills with larger rollers, like those of the Horizon 7.0 AT at 2.5″ by 1.8″, tend to hold a belt more tightly in place. Photo by: Oleksandr Kosheliev / TreadmilReviews.net
How to Tell If You Have a Loose Treadmill Belt
The first sign of a loose belt would be the alignment being off. You’d notice this if the belt drifts to one side. If you leave this unchanged, the belt will begin to tear and you’ll wind up having to replace it. Replacing a treadmill belt isn’t rocket science, but it does take time and a new belt. Simply fixing it when you see the problem is much easier. The same is true for a belt that’s too tight, which can become brittle and wind up deteriorating. A good way to diagnose the problem is to have two runners of different sizes jog on the machine. If a 200-pound user feels the belt slipping but a 150-pound user does not, this is definitely an issue of belt tension. The more people of differing weights you have using the machine on a regular basis, the more likely this is to happen.
You’ll need to loosen and tighten the belt every time you lubricate it, so getting to know the machine is a good thing to do. The biggest complaints we see from consumers about treadmills typically boil down to a lack of maintenance. With as much money as you’ve invested in the unit, there’s just no reason to let a belt issue get in the way.
How to Tighten and Loosen the Belt
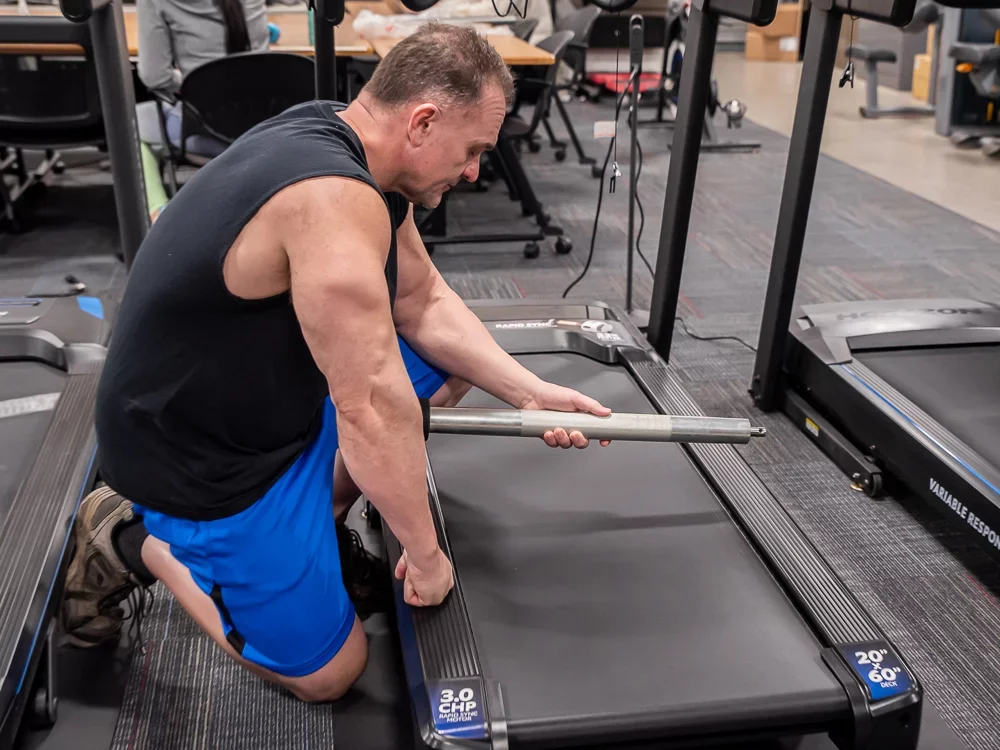
The process is so simple you might feel a bit strange once you read through these steps. Don’t worry. So did I. I’ve had three different treadmills in my home now and spent years working on them for these reviews. Right up until someone showed me how to do this, the thought never crossed my mind. Before you get started, locate the instruction manual or product PDF from the manufacturer to locate the belt adjustment bolts. If you’ve lost your manual somewhere along the way, below are links to those of popular models to help get you started. All you’ll need to do is locate the bolts and then you’ll be all set. Below, see a picture of a NordicTrack Commercial 1750 and its clearly marked spot for adjustment using a screwdriver. As a rule, the belt adjustment bolts will be clearly marked at the rear of the deck, one on each side. When adjusting these bolts, be sure to notice that there’s one on each side for a reason. If you tighten one but not the other, you’ll pull the belt to that side. This is how you can adjust the alignment if needed.

Links to Popular Treadmill Instruction Manuals
Once you’ve located the adjustment bolts, you’ll want to gather the necessary supplies.
- Pliers, Phillips screwdriver, or Allen wrenches, depending on the needs of your particular unit as explained in the product manual.
- Damp cloth to clean the belt while you’re at it.
Once you’re ready to go, the process is quite simple. Make sure to completely unplug the treadmill from its power source before starting work. This prevents the unit from accidentally turning on and causing injury. Next, use the appropriate tool to loosen, or tighten, the belt at the adjustment bolts. Remember, “Lefty Loosey, Righty Tighty,” meaning counter-clockwise to loosen, and clockwise to tighten. Be sure to adjust the bolt on each side of the deck an equal number of turns to prevent pulling to one side or the other. If you’re doing this as part of regular lubrication, deck cleaning, or perhaps a belt replacement, you’ll want to check the belt once done to make sure it’s properly secured. Gently lift the belt up from the deck with your fingers. If you can pull up more than three inches, it’s too loose. If you can’t get three inches up easily, it’s too tight. Once you have the belt properly taut, plug the machine back into the power source and let the treadmill run at 3mph without stepping onto it. Watch the belt move and make sure it’s heading straight with no wobble or slant so as to make sure it’s aligned. If the belt pulls to either side, adjust the bolt on the other side accordingly. After you’ve determined the belt is properly aligned and tight enough, take the damp cloth and wipe it down from tip to top. No matter how clean you keep your shoes, there’s bound to be some dust built up. Keeping the belt clean is the best way to lengthen its life.
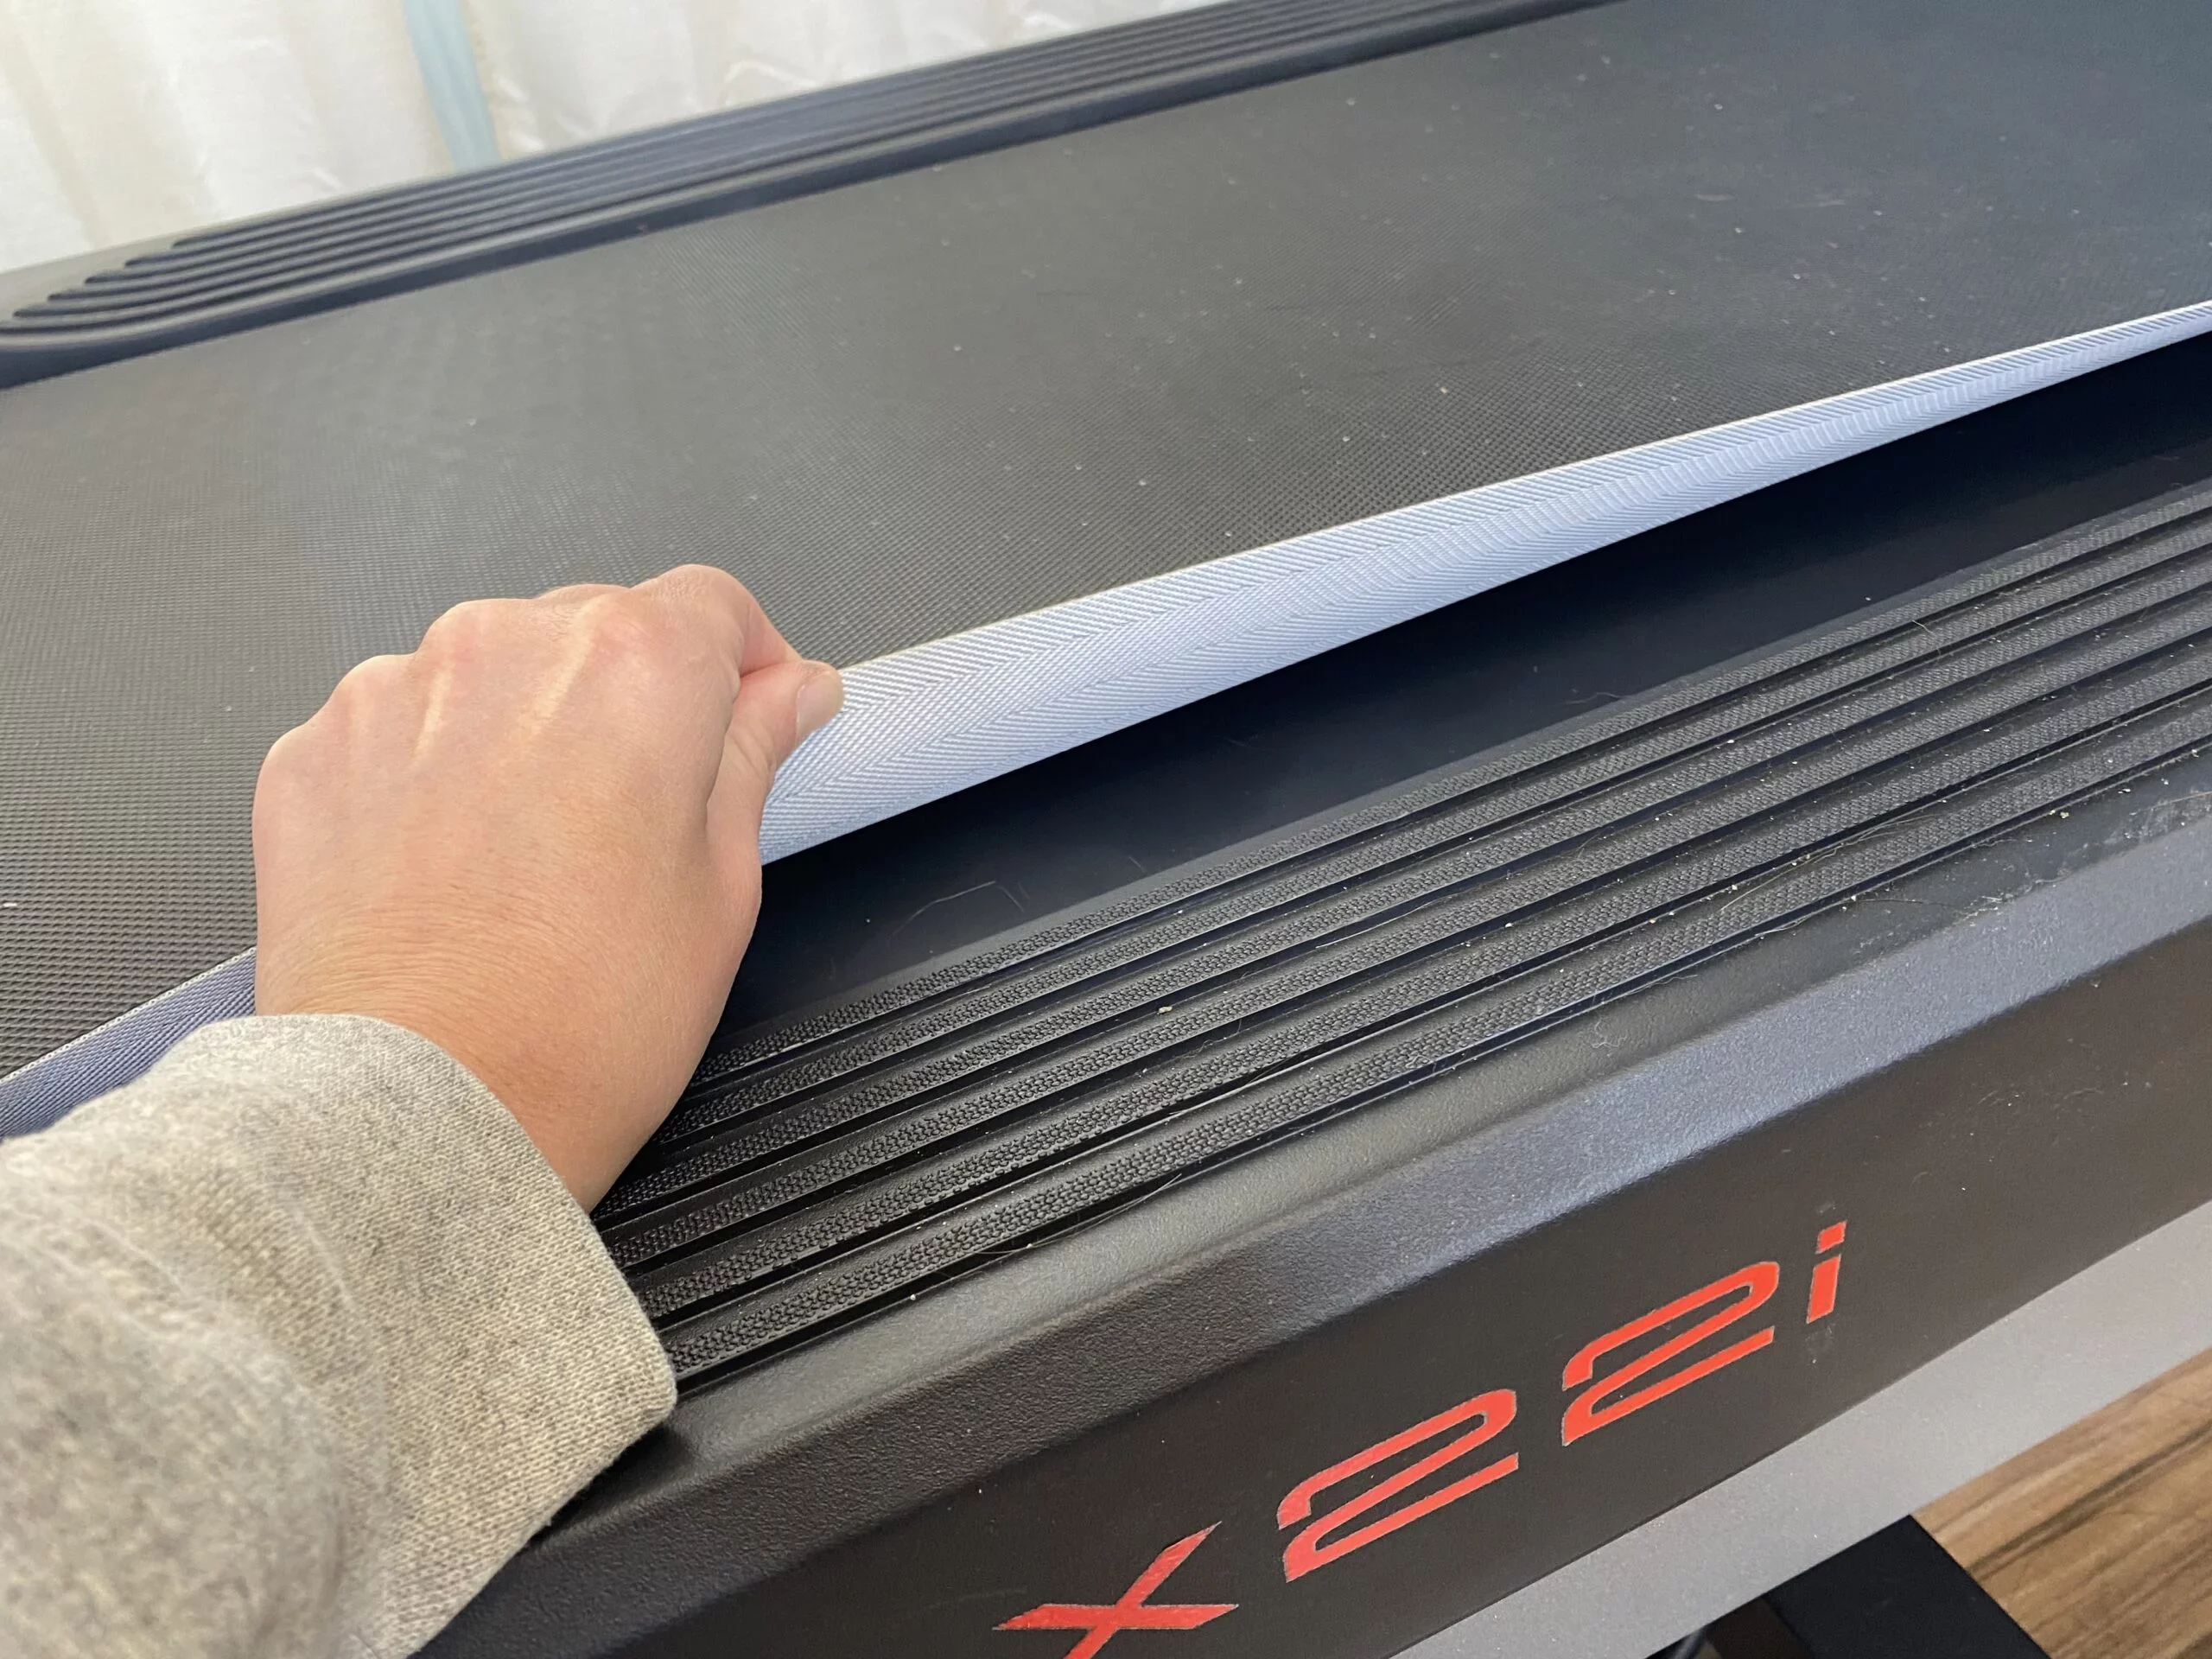
Gently lift the belt up with your fingers to see if it’s tight enough. You should be able to lift up just three inches with ease.
Adjusting a Treadmill Belt Isn’t Difficult
If you feel like your treadmill belt isn’t running right, don’t be afraid to experiment a bit with the tension. The adjustment bolts are there for good reason and it’s easy enough to do. While you’re at it, don’t be afraid to gently push and pull the unit around just a tad to make sure the rest of the bolts are secure and the machine is level. Always keep the treadmill clean and free of debris, and with proper maintenance, there’s really no reason your machine can’t last 10 years or more.
Frequently Asked Questions
Do I have to loosen a treadmill belt to lubricate it?
Depending on the kind of bottle you're using, you may have to loosen and re-tighten the belt during the process. You'll want to be able to see if you've spread the lube evenly across the deck.
Can I adjust the belt tension with my hands?
No. You'll need to use a screwdriver, wrench, or Allen key depending on the model.
How long do treadmill belts last?
That all depends on the care and usage. There's a big difference between running every day and once a week. As a rule, a 2-ply belt will last much longer than a 1-ply, so keep that in mind when shopping.
Other Treadmill Reviews:
- Amazon Big Spring Sale 2025 for Treadmills
- About: Brian Boyce
- Best Treadmills for Home
- Test HomePage
- NordicTrack Commercial X14i
- Echelon Stride
- NordicTrack C 590 Pro
- NordicTrack C1070 Pro
- Sole TD80 Treadmill Desk
- NordicTrack Commercial X11i
- Amazon Prime Big Deal Days 2025 for Treadmills
- Horizon Elite T5
- ProForm Pro 1000
- Exerpeutic TF1000
- NordicTrack T 6.5 S - Pros & Cons (2026)
- ProForm Sport 5.0
- ProForm Premier 900
- ProForm ZT6
- NordicTrack FreeStride Trainer FS5i (Discontinued)
- Bowflex Max Trainer M5
- BowFlex TreadClimber TC100
- ProForm Power 795
- ProForm Sport 7.0
- NordicTrack Incline Trainer X15i
- LifeSpan TR3000e Electric Folding
- NordicTrack C 1650 Treadmill
- Horizon Elite T9
- Official Boston Marathon Treadmill 4.0
- NordicTrack Treadmill Desk
- NordicTrack C 1630 Pro
- NordicTrack C 970 PRO
- Bowflex TC20 TreadClimber
- NordicTrack A2750 PRO (Folding) (Discontinued)